Copying a Pair of Women’s Pyjamas
by Daniel Menjívar • #sewing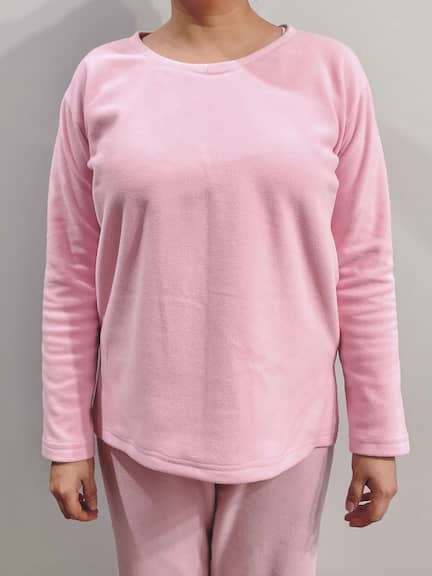
I recently made a pair of pink fleece pyjamas for my wife, Michelle. Instead of starting from a commercial pattern and modifying it to suit her size and preferences, I decided to just copy a top and bottom that she already owns and likes.
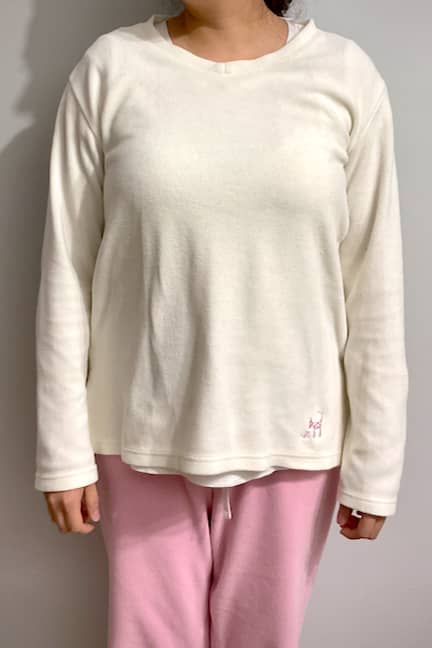
The original pyjama bottoms were a pair of fleece pants from La Vie en Rose (size S) that my sister bought her more than 18 years ago. Apart from needing a new elastic waistband, they’re still in great shape! The original pyjama top was from a set that our dog Lorenzo bought for her from Uniqlo (size M) about 8 years ago. ;-)
I’ve been posting a lot of sewing stuff to my Mastodon account, including these photos of the full sewing process from beginning to end, but I also wanted to post them here all on one page, starting with the pyjama bottoms and then the pyjama top.
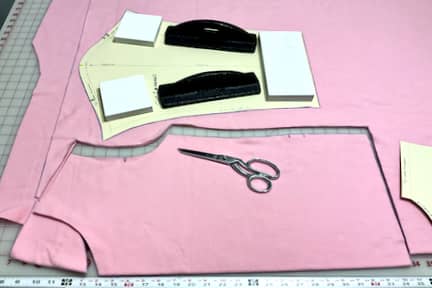
Pyjama Bottoms
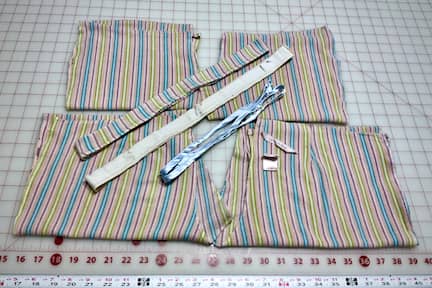

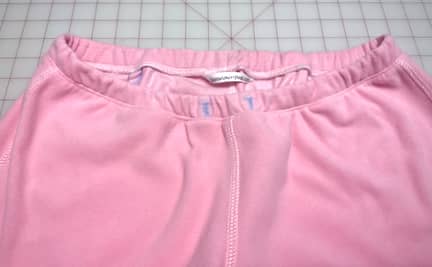
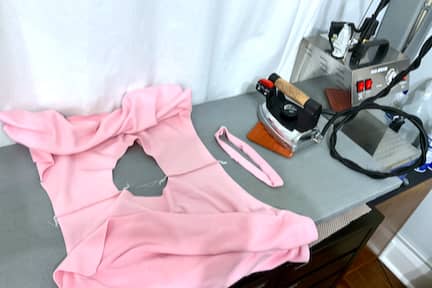
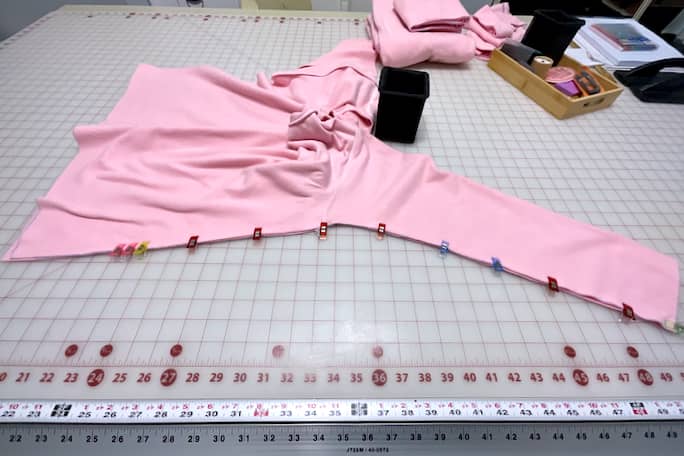
For the pyjama pants, I decided to take them apart to copy the pattern pieces before increasing the seam allowance.
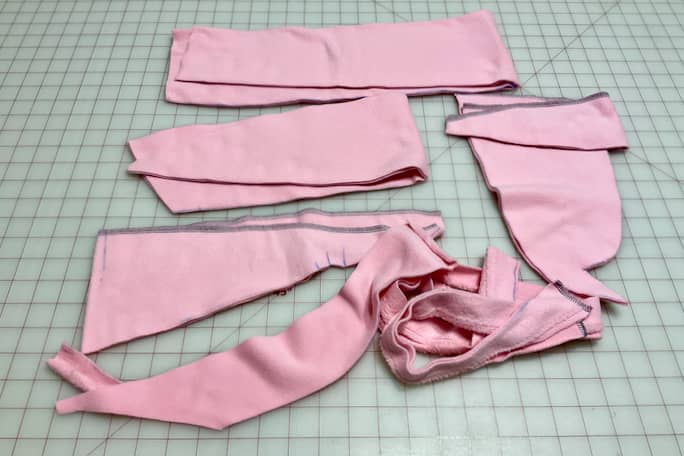
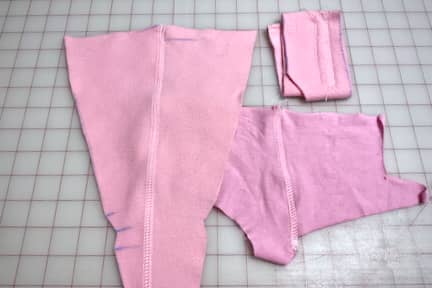
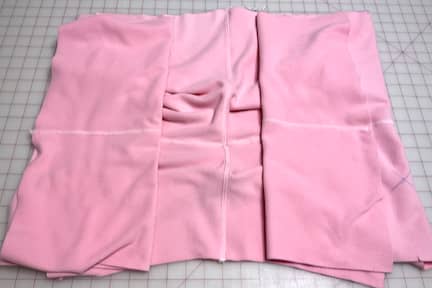
Pyjama Bottom Fronts
After sewing the darts on the back pieces (not pictured), I sewed the front seams together.
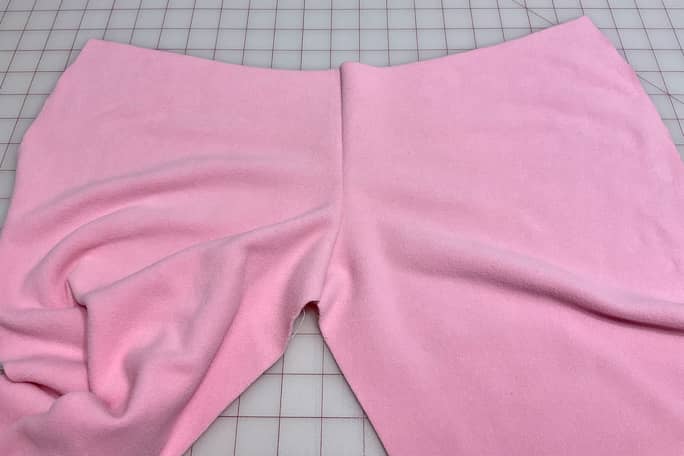
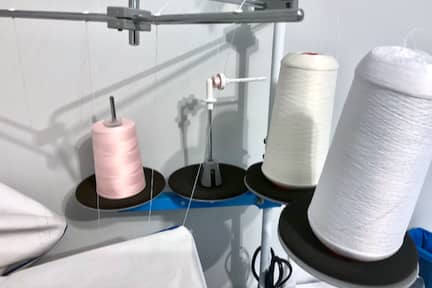
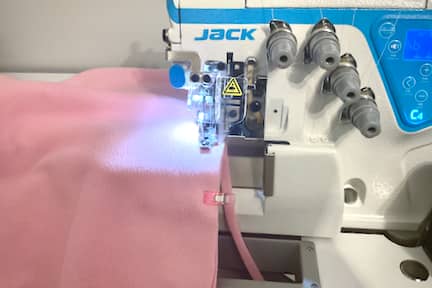
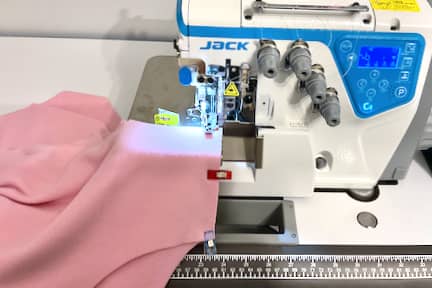
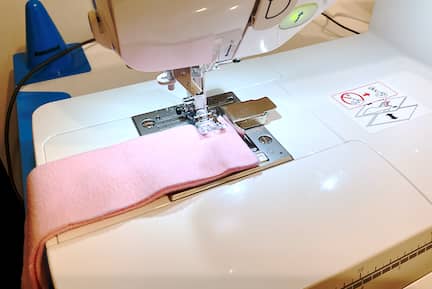
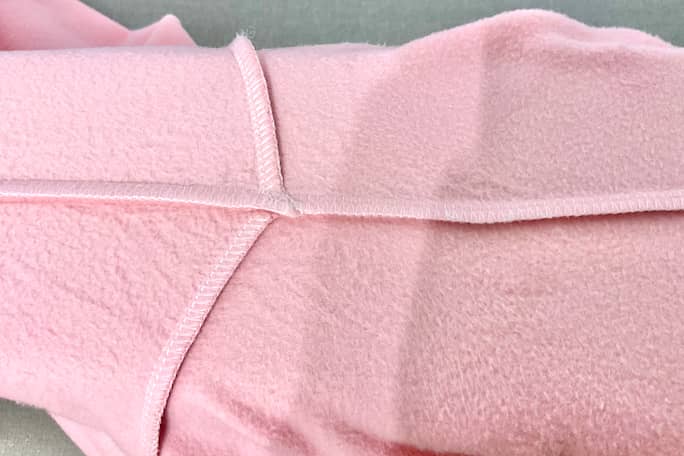
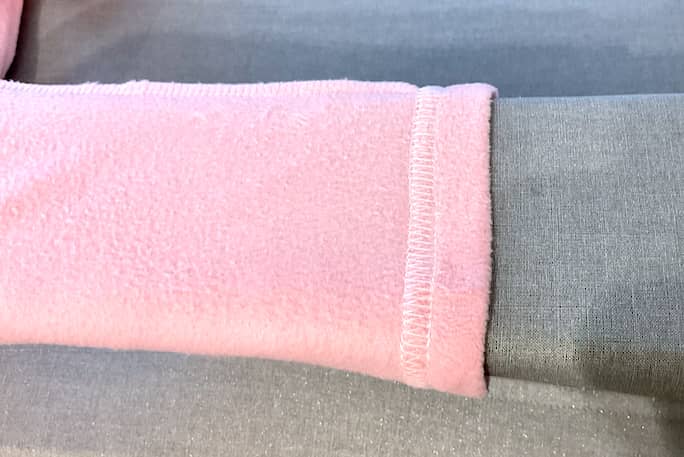
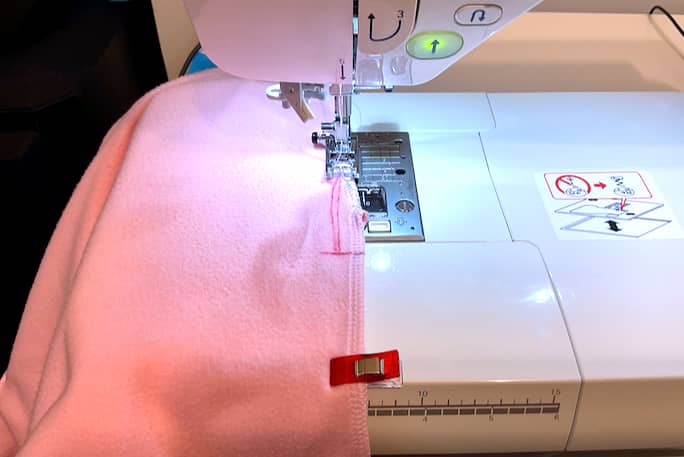
The seams on the original pair were sewn with a serger/overlocker only, but I also wanted to cover the seams with a 5-thread coverstitch, similar to a flatlock.
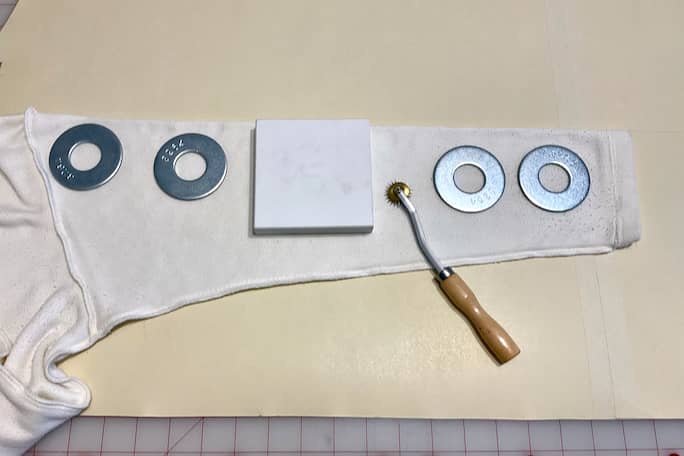
Coverstitching the seams meant I had to set up and test two machines with a total of nine threads: four overlocker threads and five threads on the coverstitch machine. I used a domestic bobbin with pink thread as one of the needle threads in the overlocker and was surprised that a single bobbin was enough to sew these pants and I didn’t run out of thread mid-seam! Perfectly aligning the guides for the 5-thread top coverstitching took a bit of trial and error, but it wasn’t too laborious.
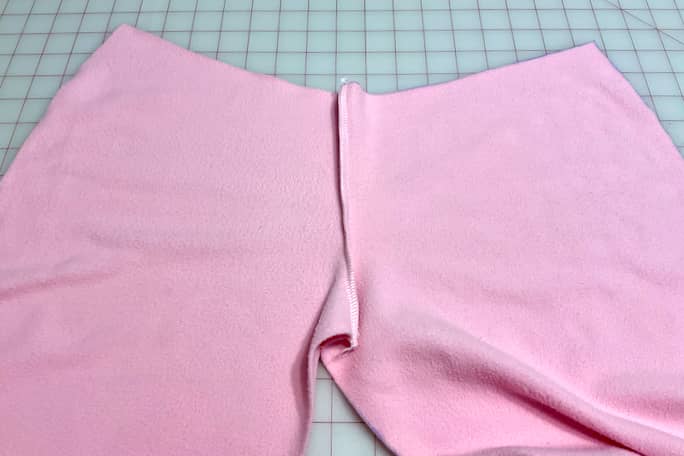
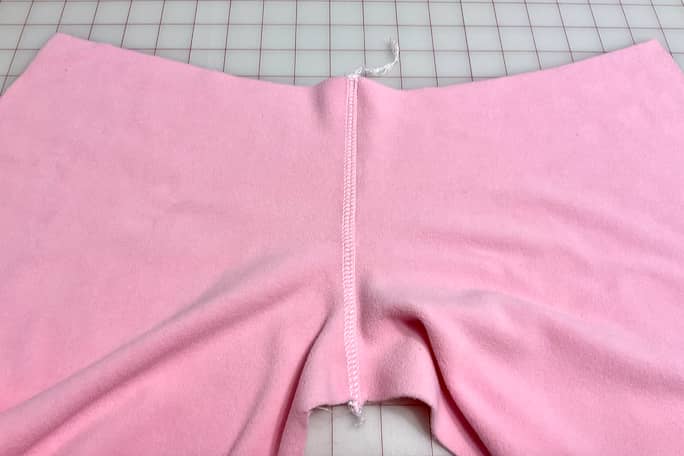
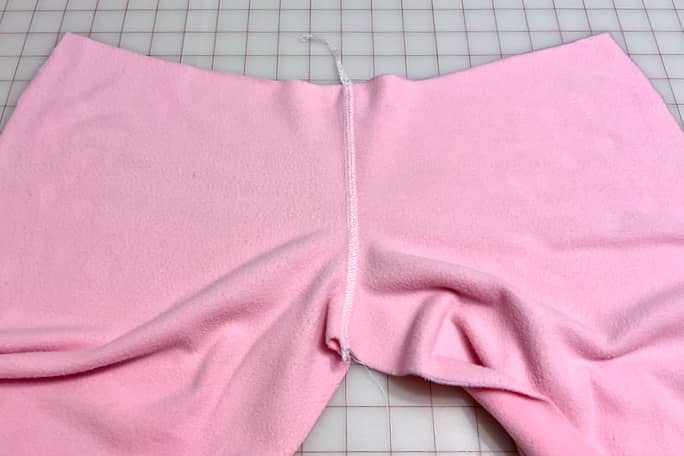
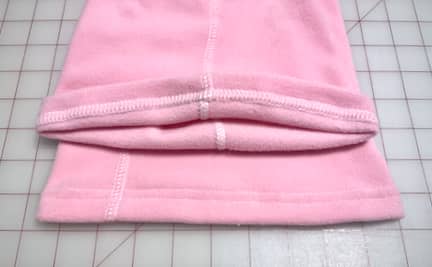
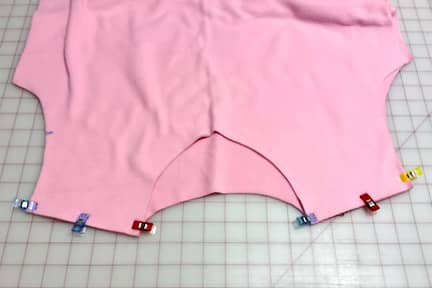
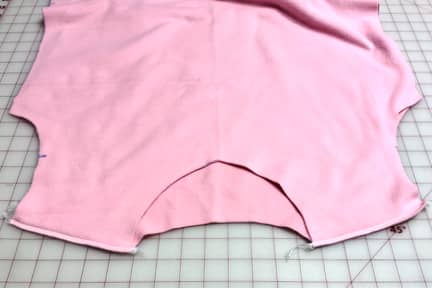
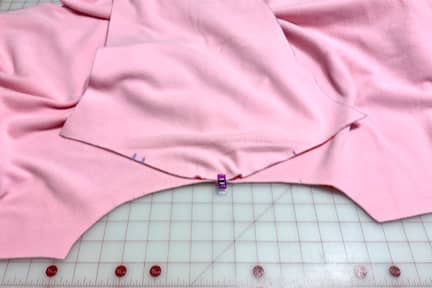
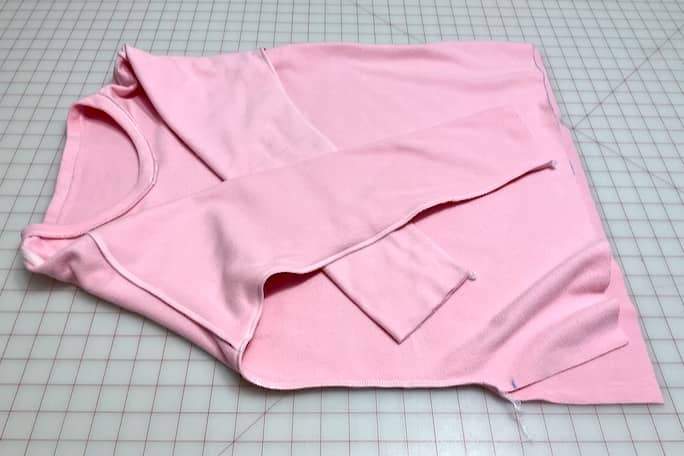
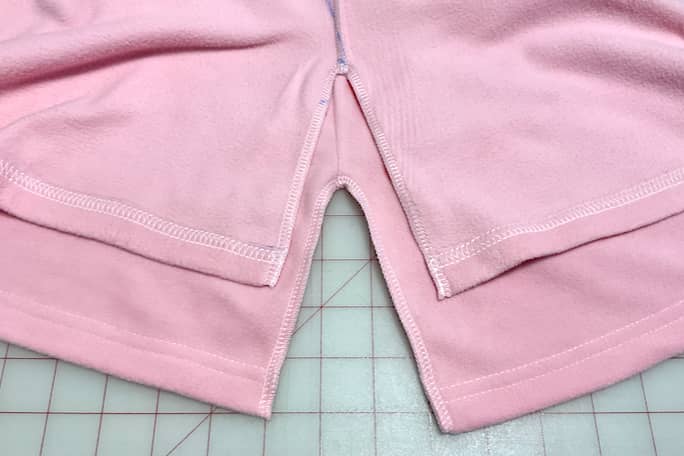
Seat Seam, Inseams & Side Seams
Then I sewed the seat seam, inseams and side seams.
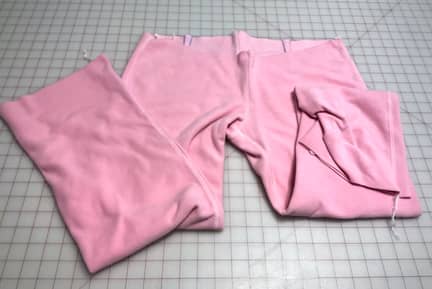
This construction order would have been ideal if I was only sewing the seams with an overlocker, but since I was coverstitching the seams also, it was a little slow and cumbersome to coverstitch the side seams using this construction order. For the next pair — if I decide to coverstitch all the seams again — I’m going to try sewing the side seams first, then the inseams and then the seat & crotch seam last in a single step.
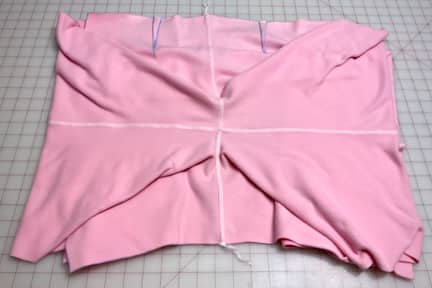
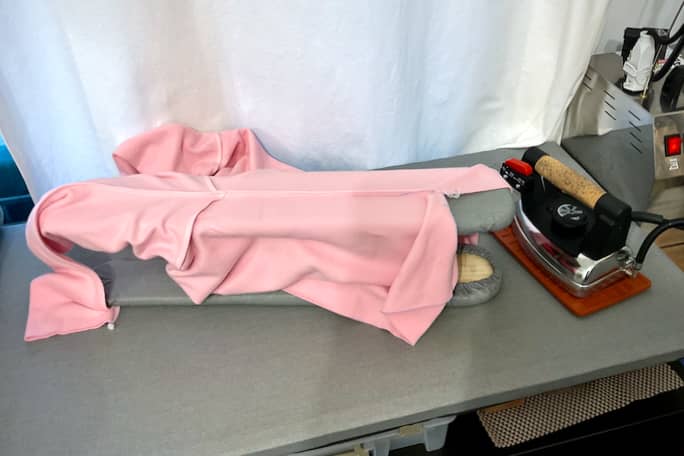
Finished Pyjama Bottoms
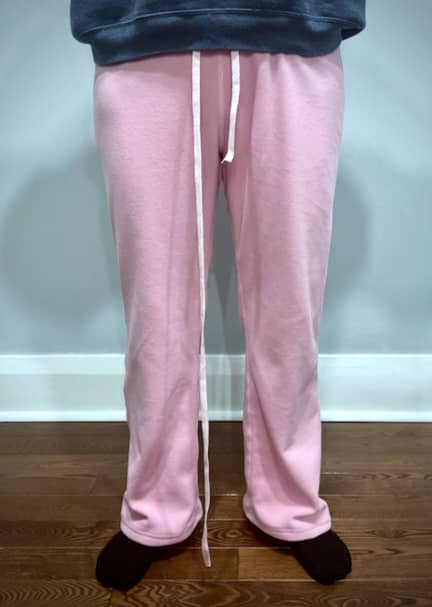
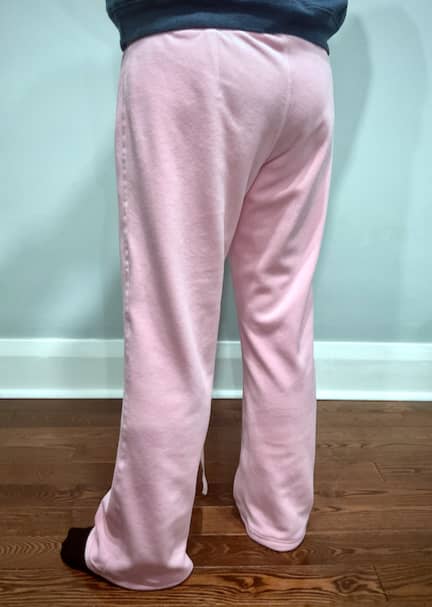
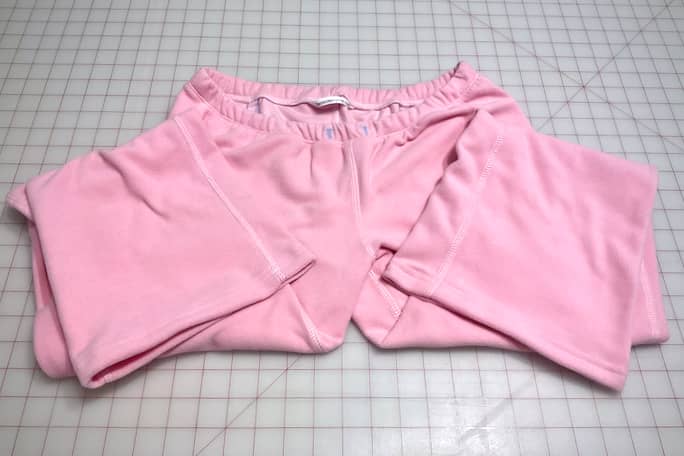
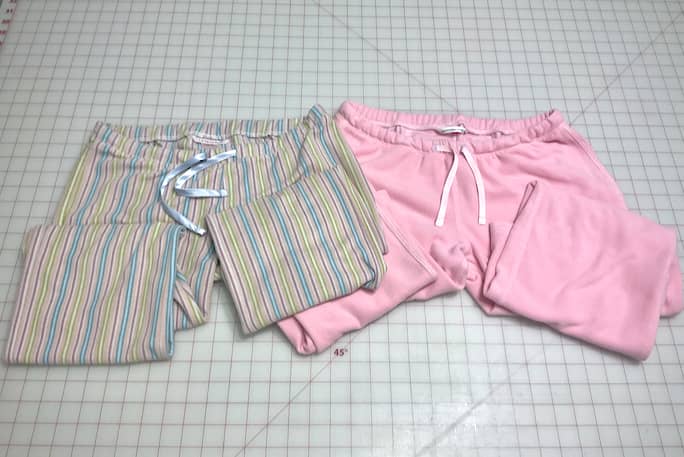
Of course, I also had to sew the original pair back together, too. I’m happy with how the new pair turned out and I’m told that they’re super comfortable to wear.
Pyjama Top
Next up was the pyjama top, which I started almost three months later.
It wasn’t necessary, nor worth it, to take the pyjama top apart to copy it. But since I don’t create patterns by copying clothes very often, I keep these two YouTube videos bookmarked:
- How to Make Patterns from Your Clothes (Clone your Wardrobe) by withwendy
- Copy your Favorite T-shirt by Mimi G
My methods are a lot more anal and precise than what you see in those videos, including walking seams, measuring and smoothing curves, correcting angles, etc., but those two videos offer me a good starting point whenever I want a quick, no-nonsense refresher on the basics.
Creating the Pyjama Top Pattern
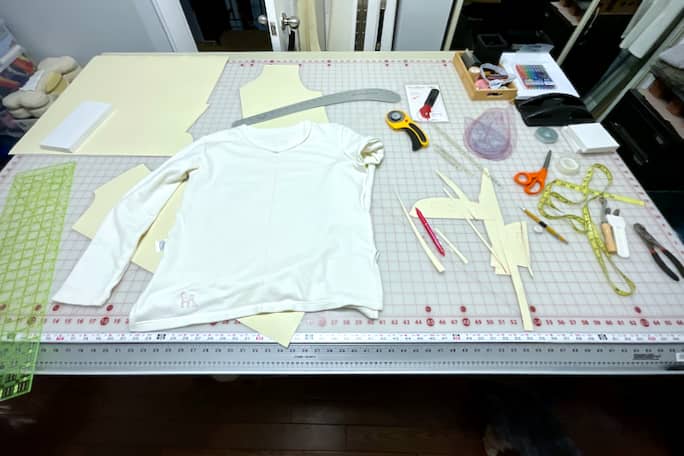
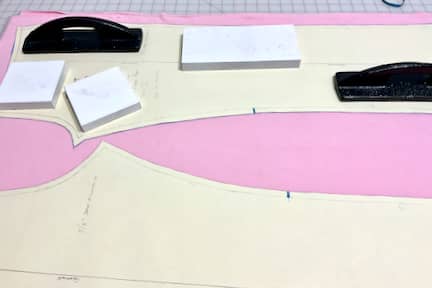
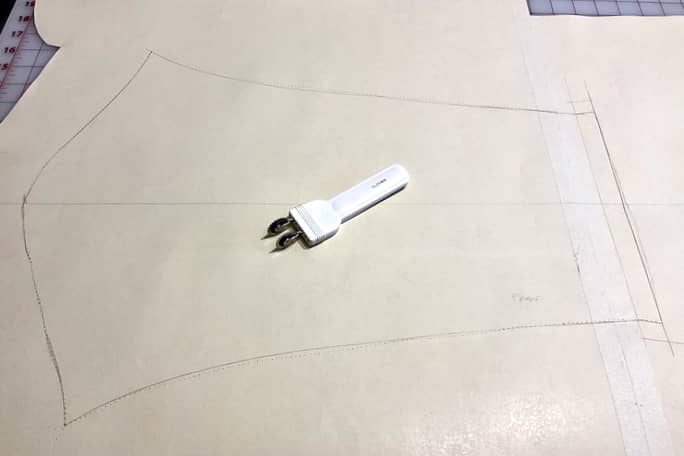
I started by tracing out the front and back pieces on the fold before moving on to the sleeve.

To trace the sleeve, I turned the pyjama top inside out and traced along the seam lines using a needle point tracing wheel.
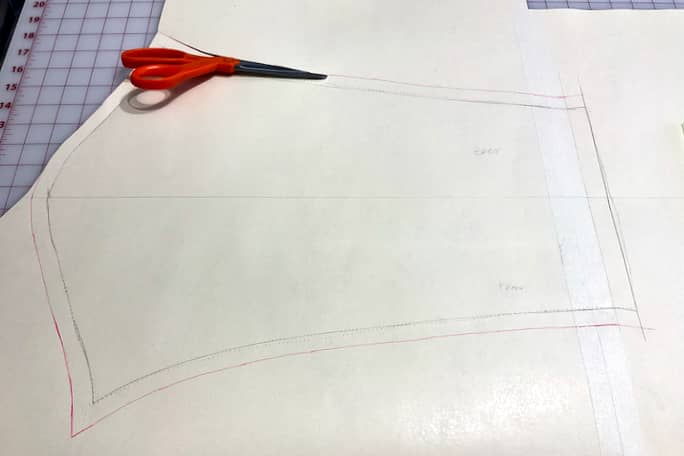
Once the seams were traced with a needle point tracing wheel, I used curved rulers to smooth out the curves and marked the seam lines in pencil. I also slightly flared out the hems so that when folded up, the hems would lie flatter and not pucker when sewn. Then I used a Clover adjustable double tracing wheel to add a seam allowance by tracing over my pencil lines. After drawing the seam allowance with an erasable pen and tweaking it where necessary, I cut out the sleeve pattern.
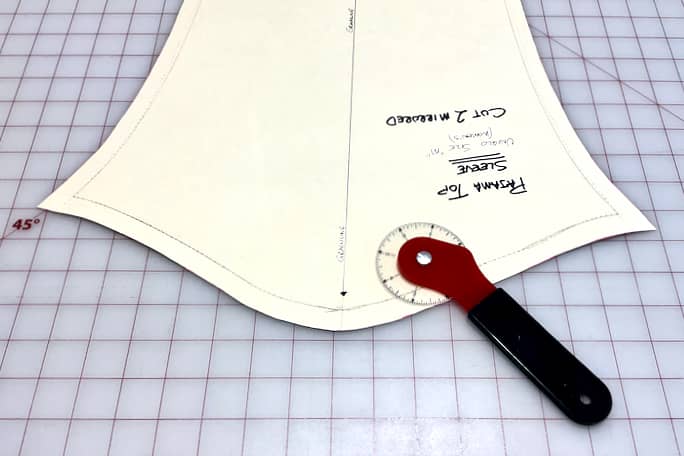
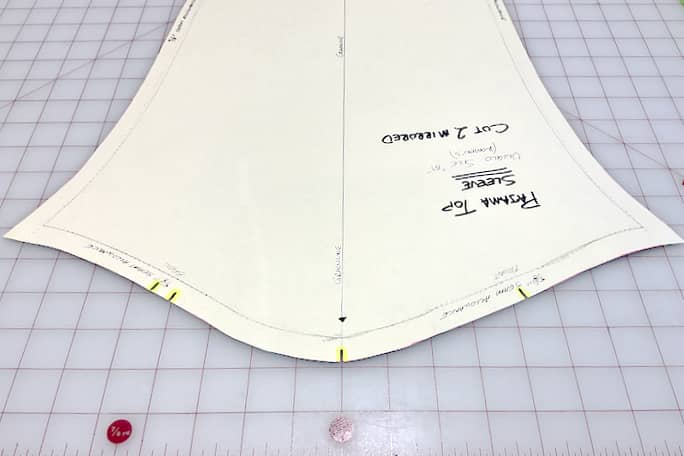
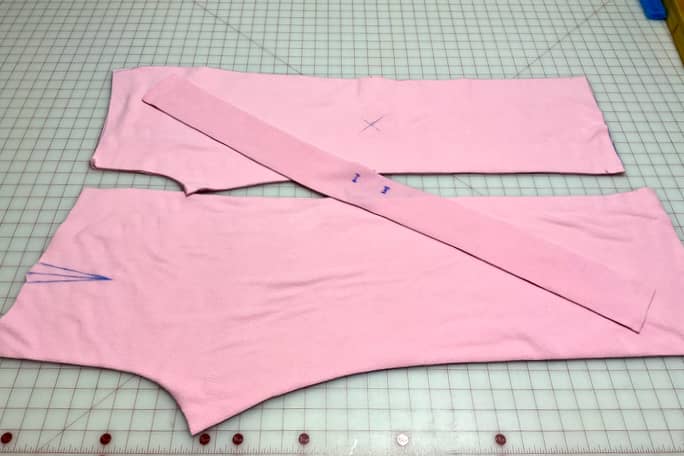
Once the pattern was cut, I marked sewing details and information (grainline, seam allowances, piece name, etc.) on the pattern as needed. I used a Curve Runner 8” rotary ruler to measure the length of the sleeve curve so I could mark the front and back notches at the exact halfway points; the front and back pieces had these marked at exactly halfway, too. Once the halfway points were marked, I spaced the two back notches exactly ¼” away from the centre mark so that they ended up ½” away from each other.
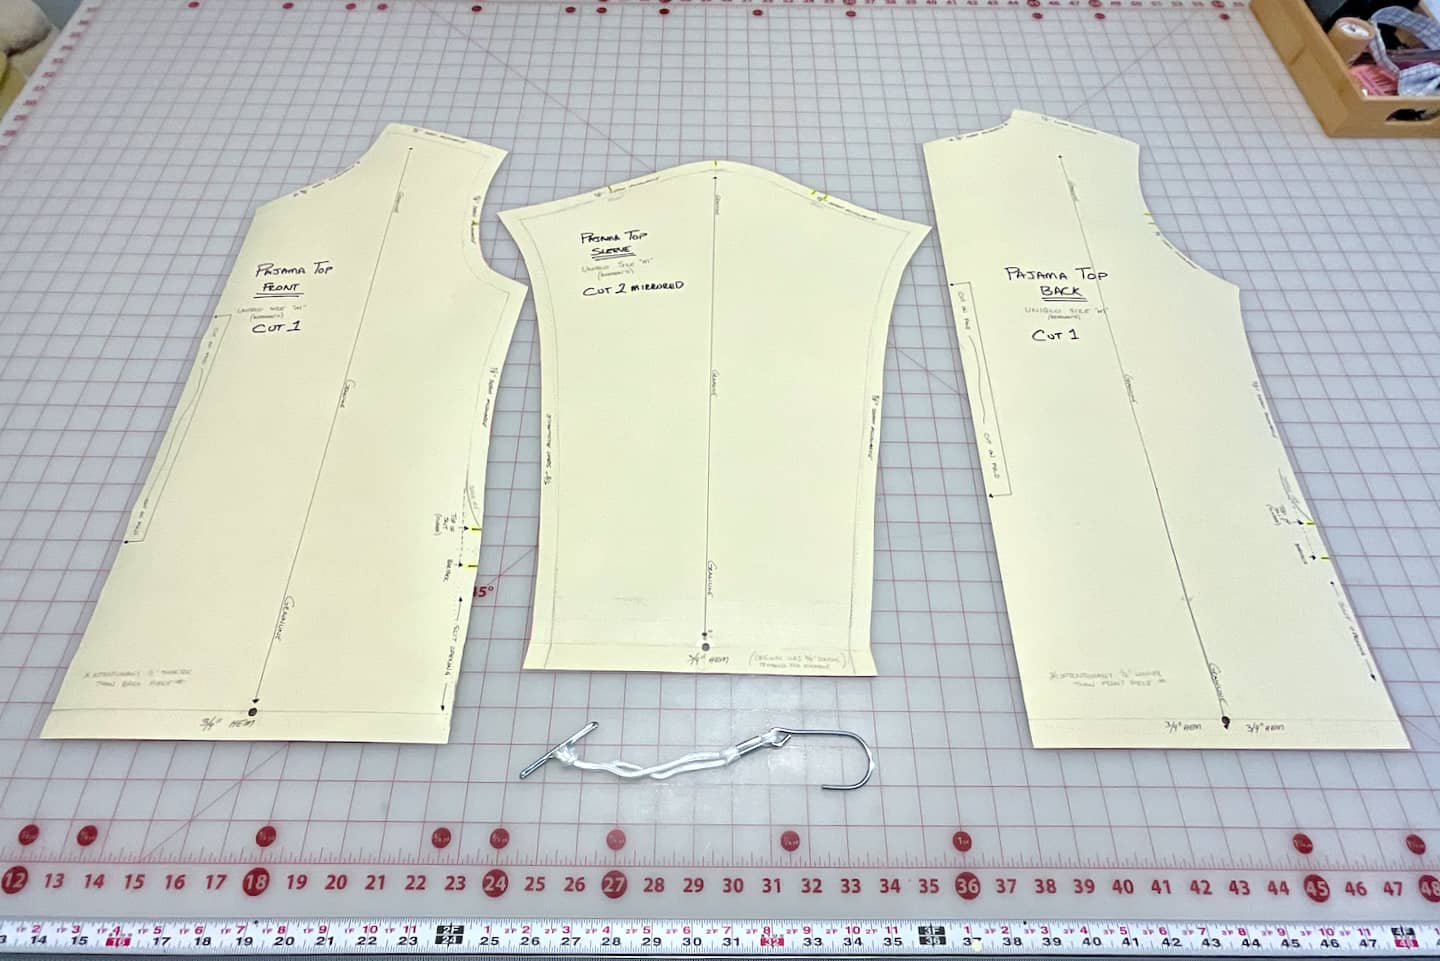
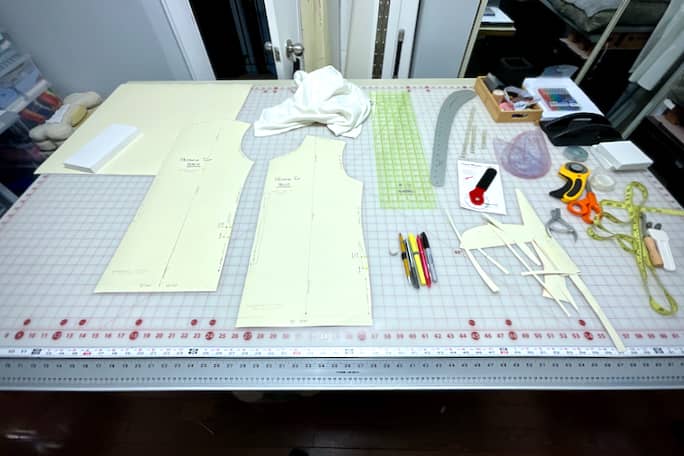
With the pattern completed, I created reinforced holes in the pattern pieces so that they could be hung. At this point, I also proceeded to create sewing instructions (in the iPhone/iPad Notes app) for anything that wasn’t obvious.
I didn’t create a pattern piece for the collar/neckband since it’s just a small rectangle which can be more accurately cut with a quilting ruler, but more importantly, because I vary the length of the neckband piece on knits using a formula, depending on how much stretch is in the fabric.
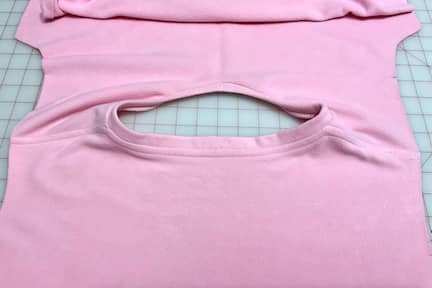
Cutting & Sewing Shoulder Seams
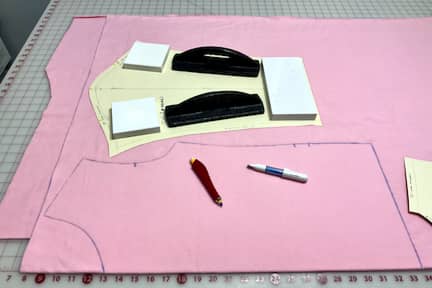
With the pattern copying completed, it was time to cut the shirt pieces out of fabric.
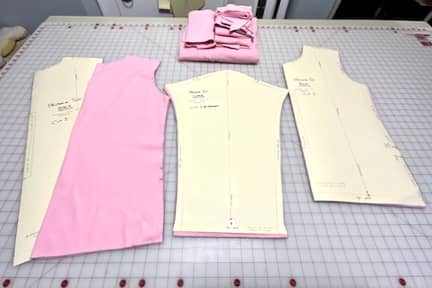
And then sewing the shoulder seams…
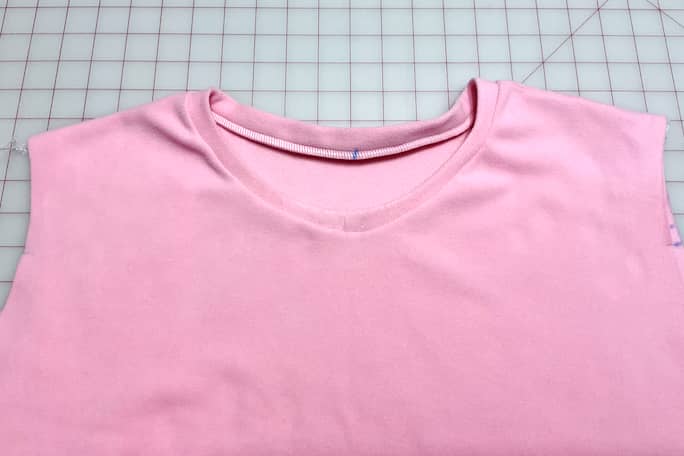
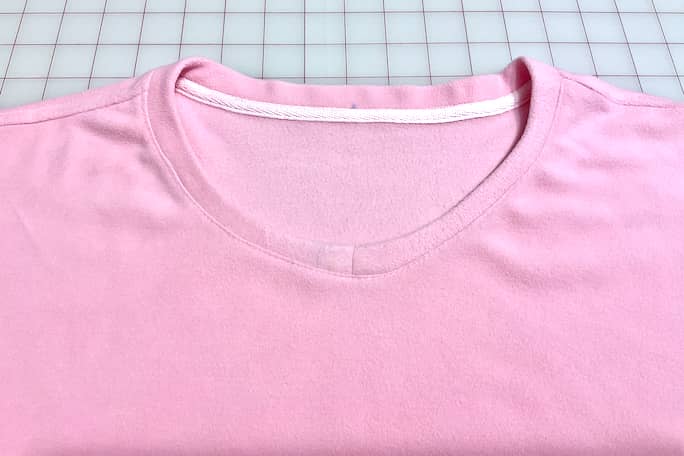
Pyjama Top Neckband
As I previously mentioned, for knit collars/neckbands, I always measure the finished neck opening and then use a simple formula for determining the correct neckband length, which varies depending on the amount of stretch in the fabric:
If 10cm of fabric stretches…
- < 13 cm = cut to 90% + (½” S.A. ×2)
- ~ 13 cm = cut to 85% + (½” S.A. ×2)
- ~ 14 cm = cut to 80% + (½” S.A. ×2)
- ~ 15 cm = cut to 75% + (½” S.A. ×2)
- 16-18cm = cut to 70% + (½” S.A. ×2)
Since the seam that joins the neckband never needs to stretch along the seam, I like to sew it using a 2mm straight stitch (and ½” seam allowance as indicated above) instead of using a serger so that I can press the seam open and reduce bulk.


Despite my efforts to keep it perfectly aligned, the neckband seam at centre front shifted out of place while I was sewing it with the overlocker, likely as a result of stretching the neckband to match the shirt. Next time, I’ll baste the neckband in place first since this is a highly visible seam right at centre front.
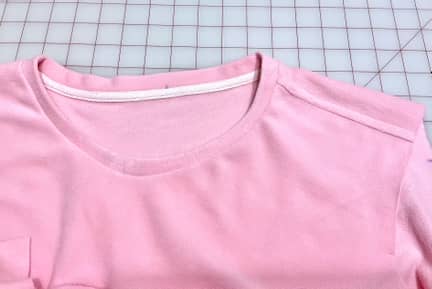
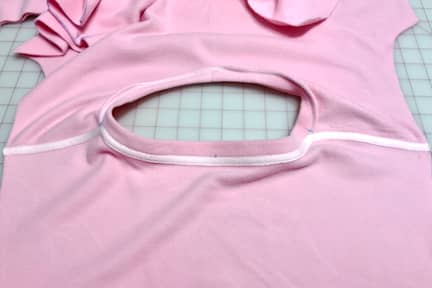
Neckband Finishing
I was going to use pink cotton jersey to cover the neckband and shoulder seams, but decided to use pink twill tape instead.
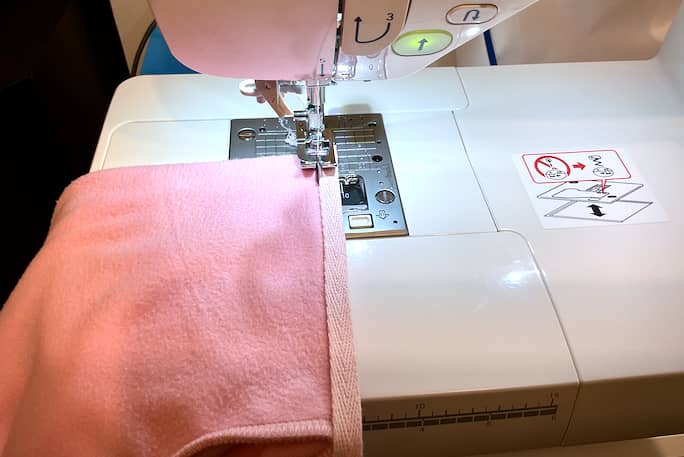

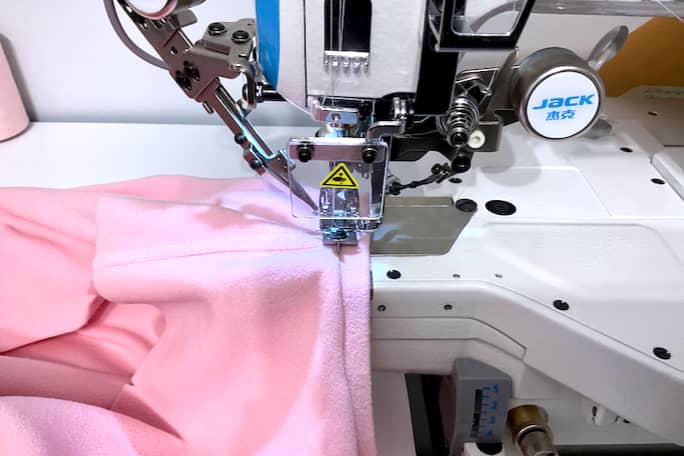
I normally do this step using a chain stitch on my industrial coverstitch machine, or sometimes even using a compensating edge foot on my industrial straight stitch machine. This time, however, I decided to challenge myself by using only a domestic sewing machine for this step. It was harder because it’s not what I’m most comfortable using, but it still turned out fine.
And here it is after the second pass to attach the other side of the twill tape:
I did all that work to set up my domestic sewing machine, figuring out the exact needle position settings to attach the twill tape, etc., only to realize that I still needed to set up my industrial coverstitch machine anyways, to do a single needle chain stitch (to preserve stretch) for topstitching down the front of the neckband. Duh!
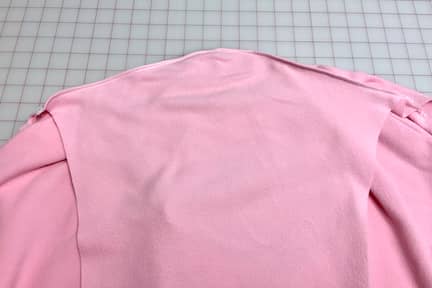
Pyjama Top Sleeves
Moving on to the sleeve caps…


The original pyjama top I copied has slits on the sides, so it took a tiny bit of reverse engineering to figure out how to sew it the same way. Also, because I wanted to keep the copied shirt as close to the original as possible, it meant I couldn’t coverstitch all the seams (to match the pants above) without removing the side slits and reducing the length of the back piece, which is intentionally ½” longer. Next time I’ll have to make a decision: remove the side slits and coverstitch all the seams, or leave the side slits in and forego top-covered seams.
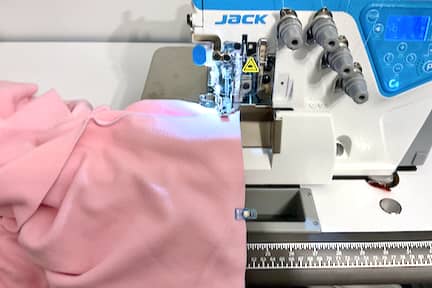
Next, I sewed the sleeves closed and continued down the side seams up to the slit marks at the bottom of the pyjama top.
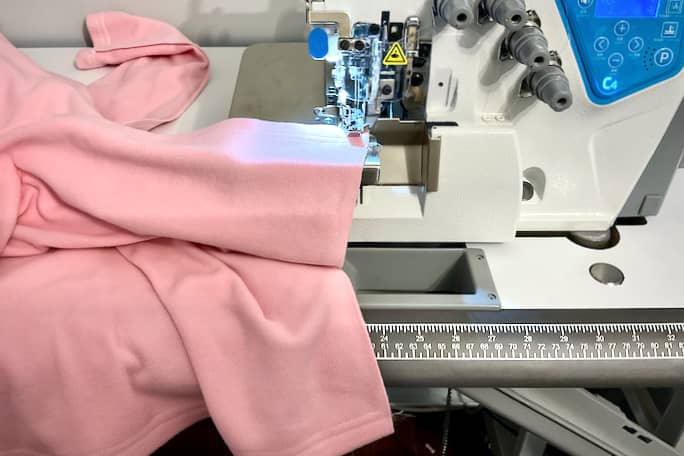
Then, of course, I had to tidy up the serger tails before proceeding with the hems.
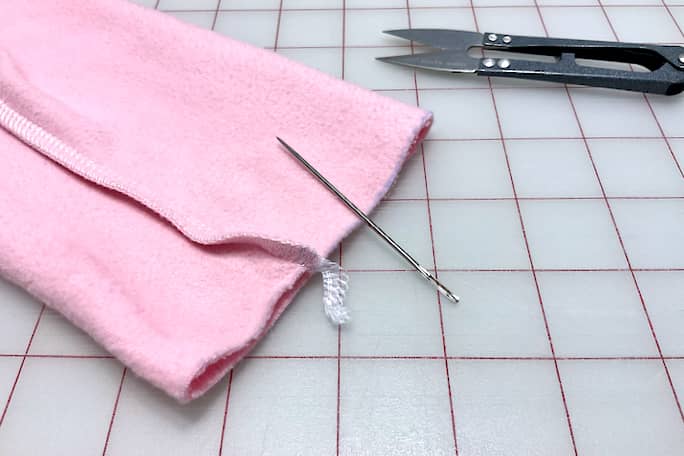
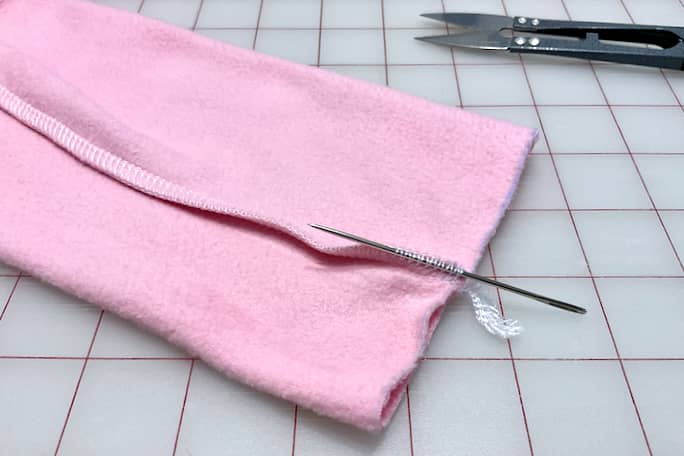
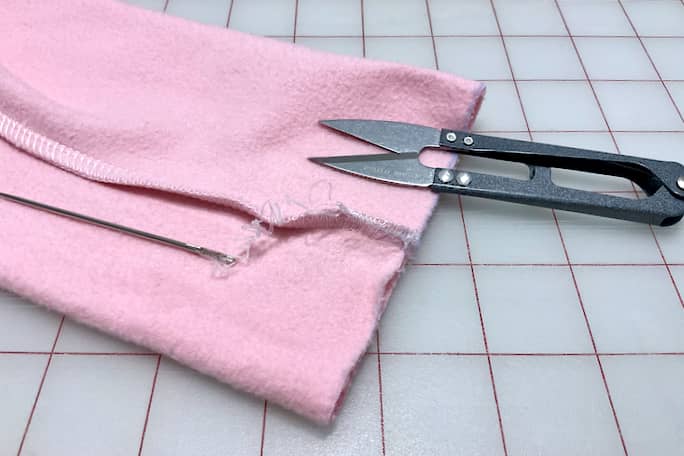
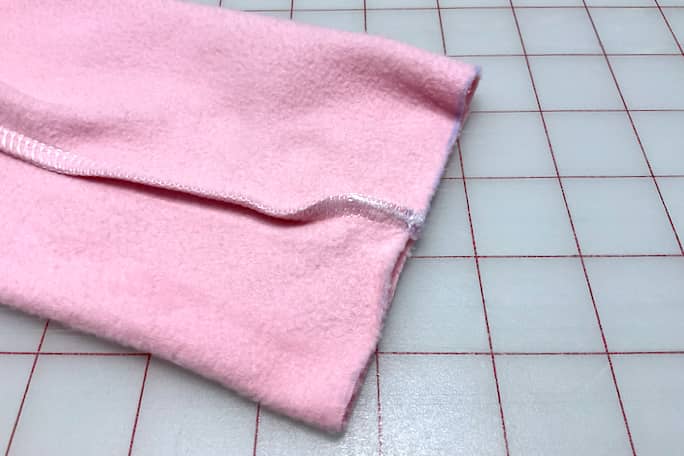
Pyjama Top Hems
And then the hems…
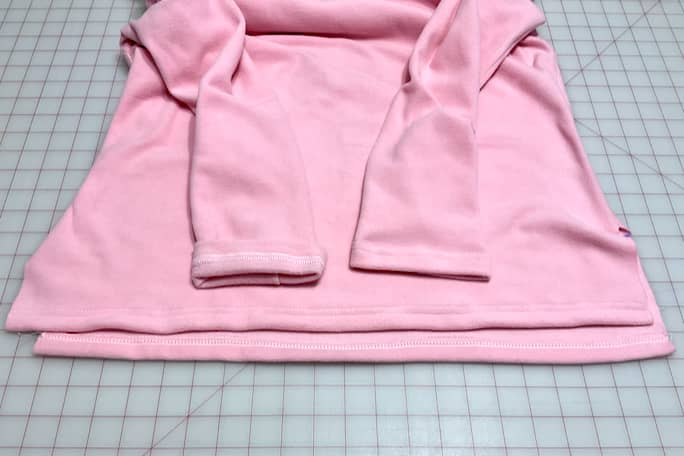
I did a pretty good job hemming the sleeves in the round considering how narrow the sleeve openings are. But if you’re super picky and detail-oriented like me, you’ll notice that the hem on the front and back panels is not perfectly straight. It was too negligible to redo it (even though pulling out a coverstitched seam is easy), but imperfect enough to mention.
Pyjama Top Side Slits
Just the side slits remained.
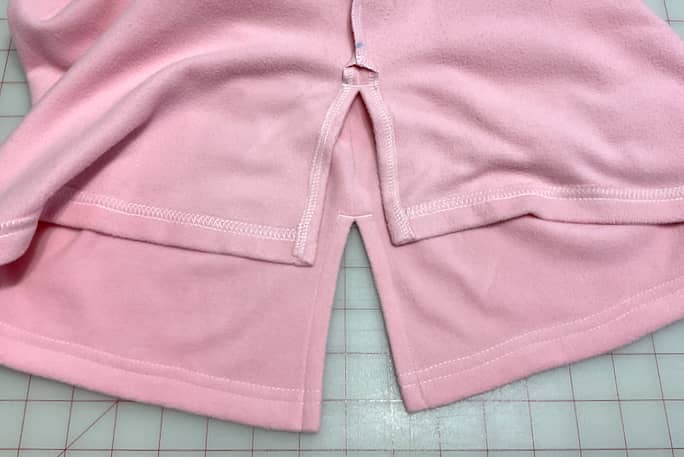
I overlocked the slit edges as one continuous seam while trimming only ⅛”, then I marked the seam line and endpoint for the slits using a heat-erasable pen. After sewing closed the top portion where the overlocked side seam meets the slit, I folded over the slits, pressed them flat and topstitched them down. Finally, I added bartacks along the top of the slit openings.
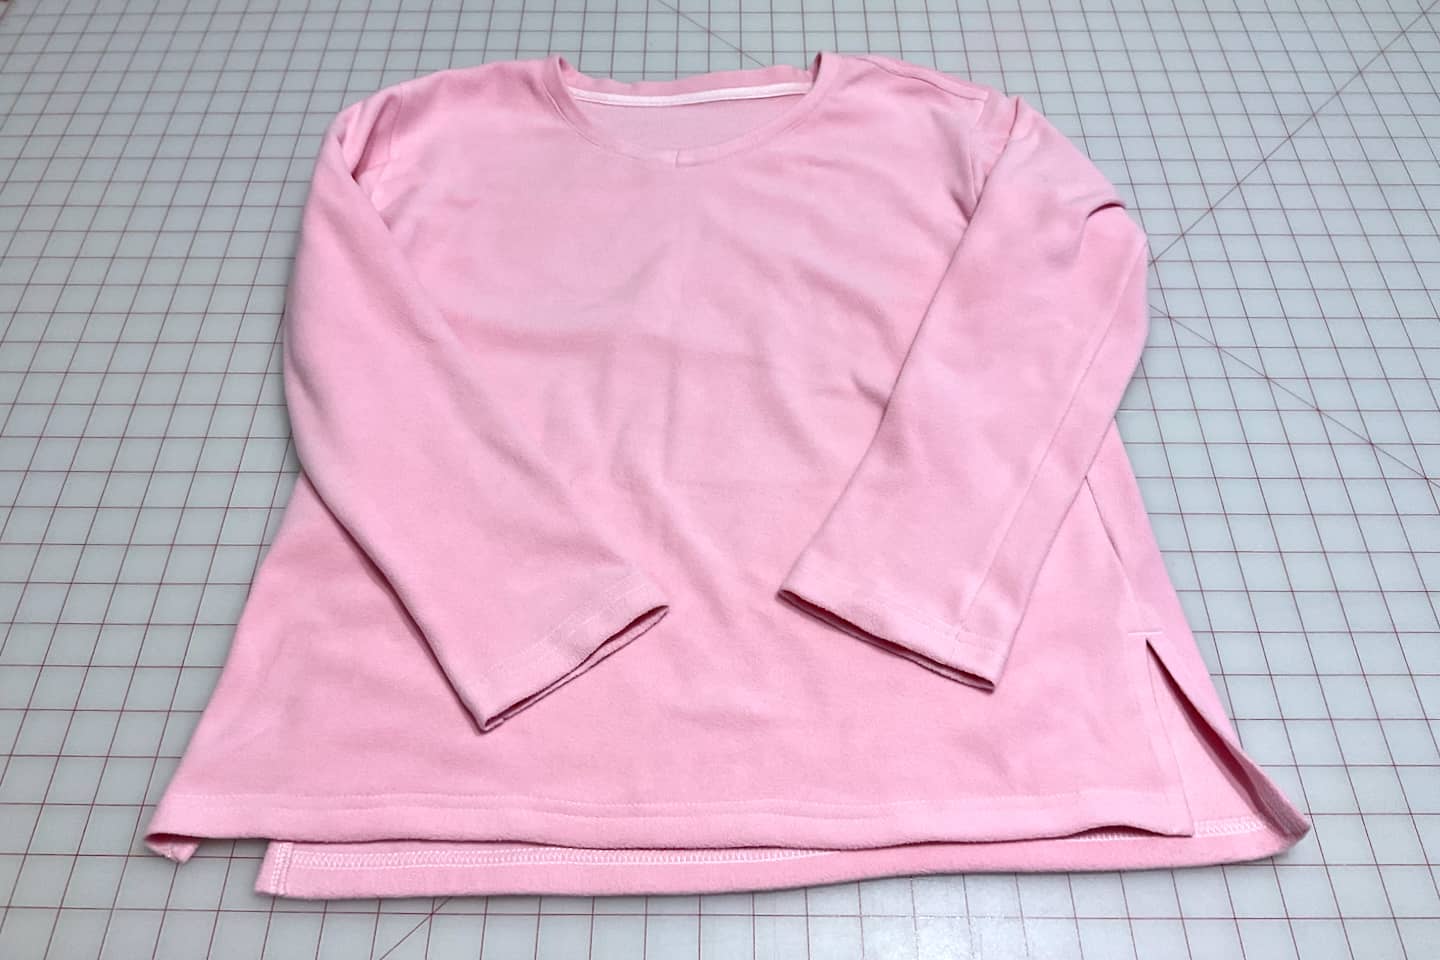
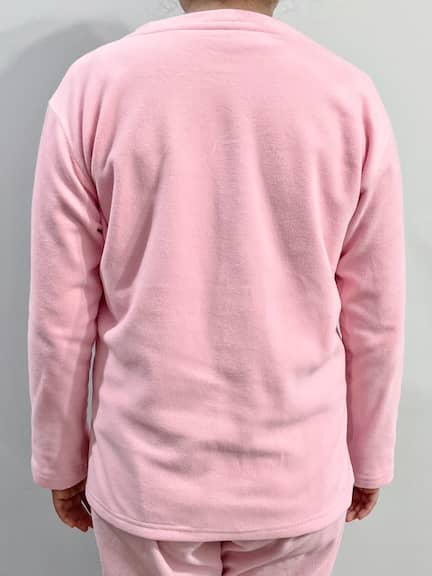
Finished Pyjama Top
And here’s the finished pink fleece pyjama top!
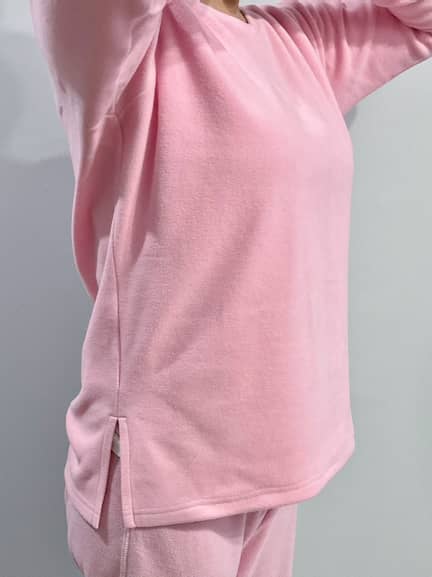
By the time I got around to sewing the top, my wife had worn the pants so much already — she loves them — that they had faded and no longer matched the top. It’s fine though, because she’ll only wear them separately since we don’t think they look good together anyway — too much pink!