Grey Gold Lounge Pants
by Daniel Menjívar • #sewing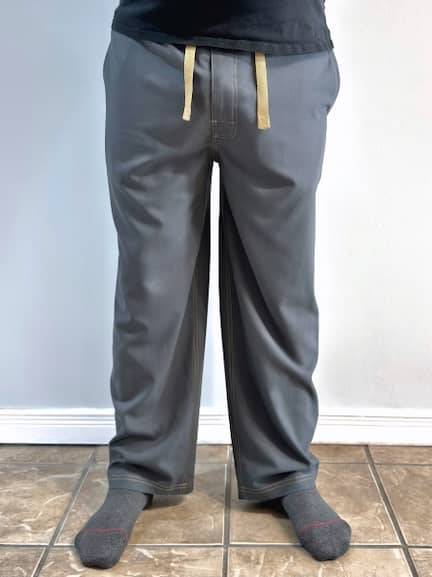
After sewing a pair of grey striped pyjama pants that I regretted the fabric choice of, I thought to make another pair, but out of a solid grey fabric this time. This would be the fourth pair of pants that I made from the “Eastwood Pajamas” (sic) pattern by Canadian company Thread Theory[1] this year. As always, I used a different construction order and sewing techniques from the original, in addition to my alterations to the pattern.
Since I’m in pyjama pants a lot, sometimes all day, I wondered, what’s the difference between pyjama pants and lounge pants? After a quick internet search, I learned lounge pants can be pyjama pants, only with more stylish fabrics and finishes. In my opinion, these pants qualify as lounge pants — they’re nice enough that if I answer the door in the afternoon while wearing them, they don’t give off the “still in pyjamas” vibe.
Pattern Tracing & Cutting
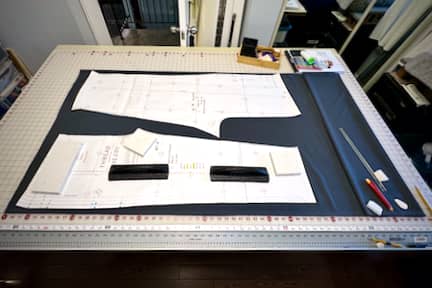
I’ve had this grey fabric in my stash for several years. In fact, I had made a pair of pyjama pants out of it many years ago, but I used a free pattern with terrible front pockets. So, soft and comfortable as the fabric may be, I don’t wear them often because of the pockets. I was also under the impression that I only had a tiny amount of this fabric left, so I was surprised to discover that I, in fact, had more than enough fabric left over to make another pair of pants.
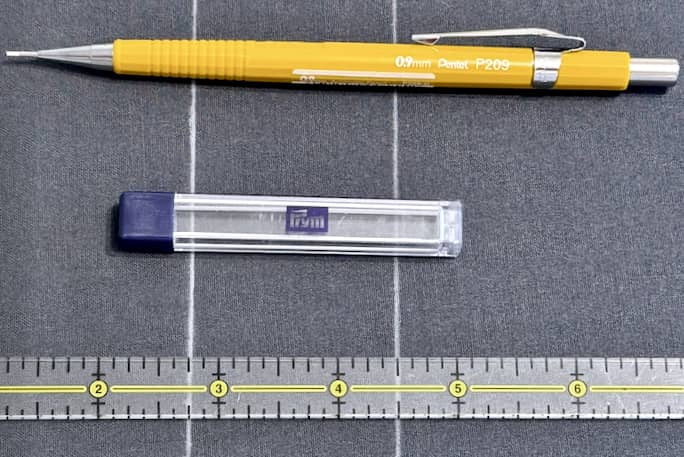
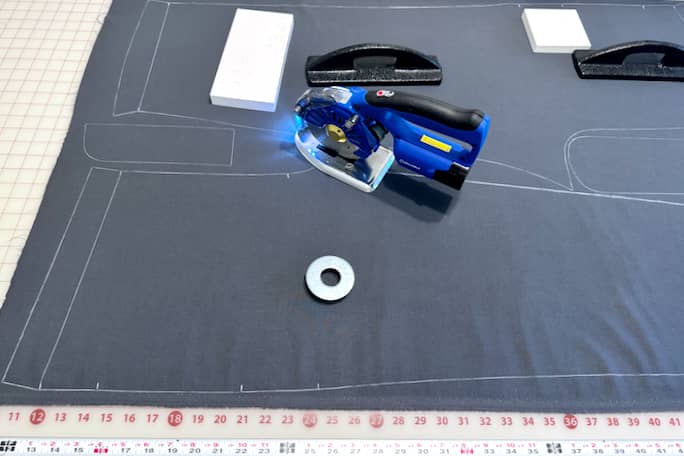
I sew a lot of dark fabrics, so I’m always looking for quality white marking tools. I recently found some 0.9mm white chalk refills for cartridge pencils by Prym on Amazon, so I also bought a mechanical pencil and emptied out the graphite to give it a try.
I’ve used many different marking tools for sewing over the years, but these give the thinnest, most accurate lines of anything I’ve tried.
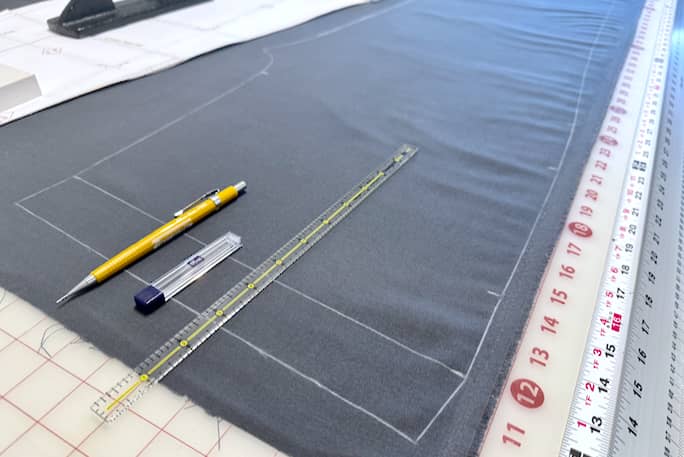
As always, I was meticulous when ensuring the grainline was straight by measuring the distance from the fabric edge to the grainline markings on the pattern.
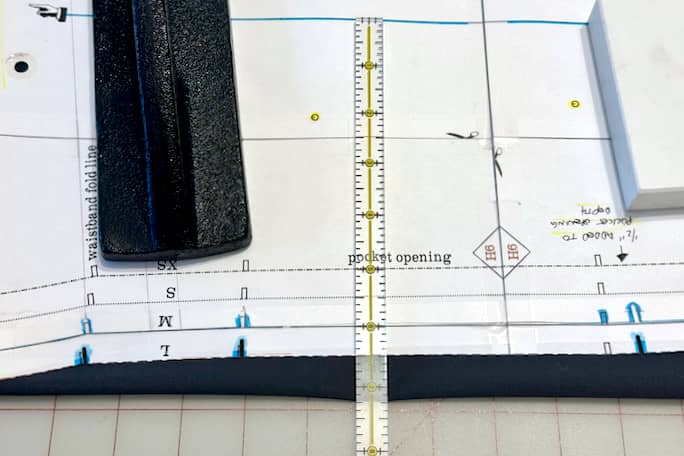
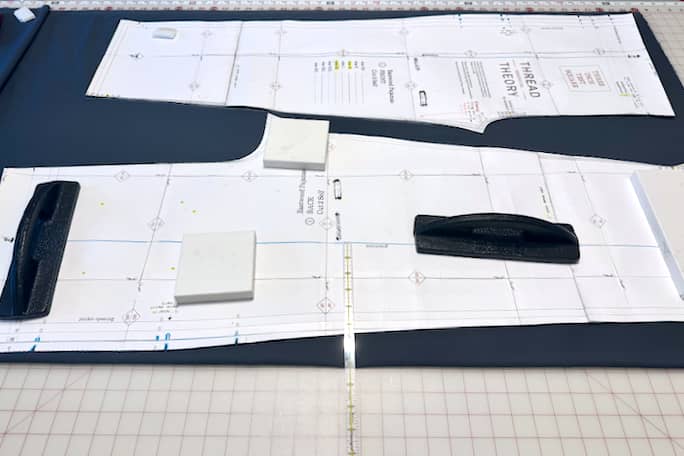
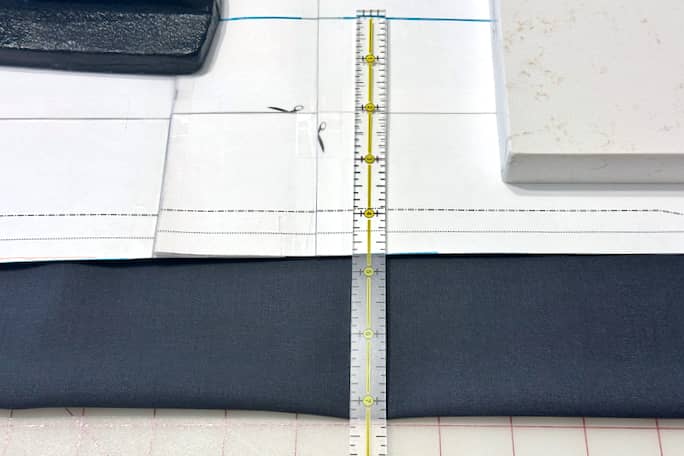
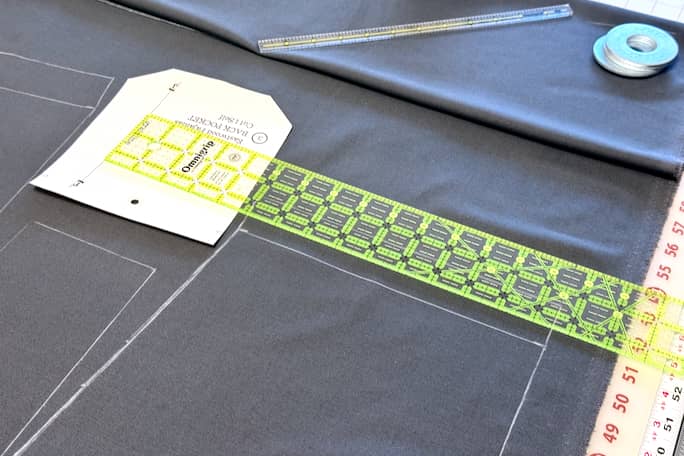
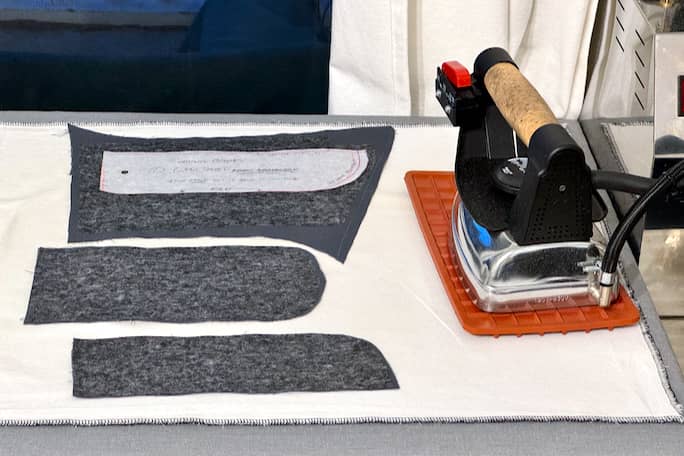
Once I traced the pattern pieces, I cut out the pieces using my Reliable Cordless Fabric Cutter and applied lightweight interfacing to the fly pieces.
Topstitching Samples
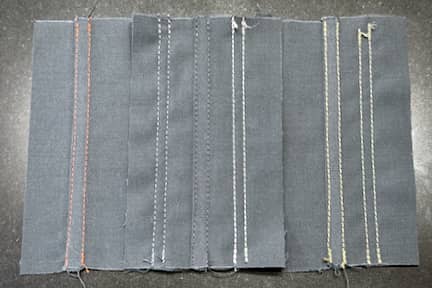
It has become a habit of mine to create several flat-felled seam samples to test different topstitching thread colours.
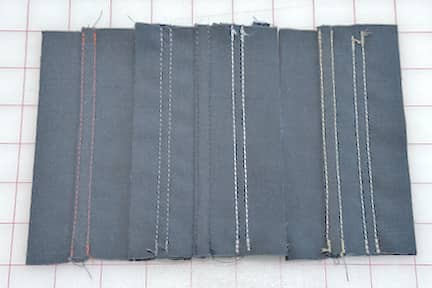
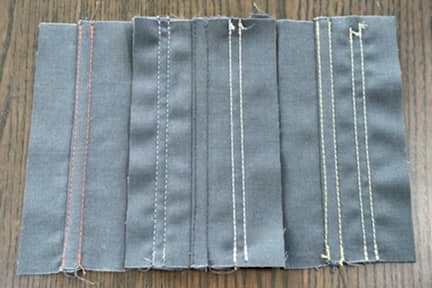
- In my sewing room, with bright lighting, the two gold threads looked so similar that they were hard to tell apart.
- On the dining room table, surrounded by plenty of natural light, the shiny one looked yellow, while the matte one looked less saturated, almost beige.
- And in the kitchen, the colours looked more similar to how they looked in my sewing room.
Usually, I would stick with grey on grey, but I allowed myself to be convinced by my wife that the gold topstitching on the grey fabric would better showcase my precise topstitching and attention to detail.
Patch Pocket
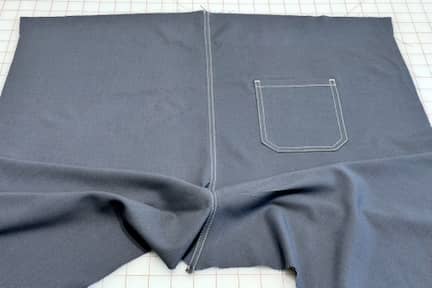
I was still unsure about the look of the gold contrasting thread on grey fabric, so I started by sewing the back patch pocket — something I could easily unpick if I absolutely hated it.
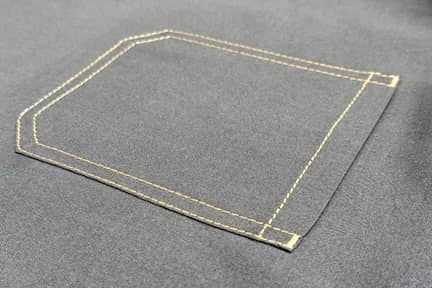
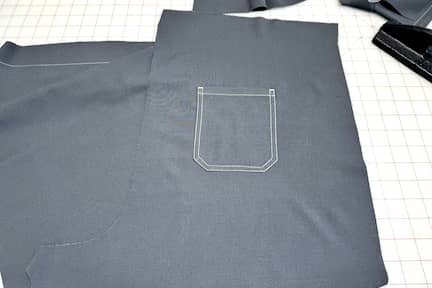
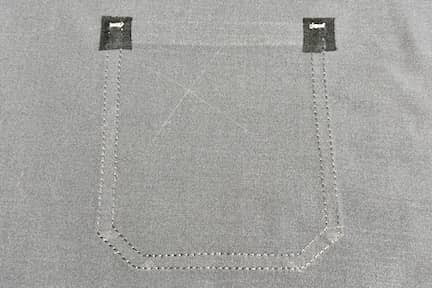
You’ll notice no back tacks are visible anywhere because I left extra long thread tails that I could easily pull to the wrong side of the fabric to knot them. It was a lot more work — and slower — for sure, but you can’t argue that it does look much nicer.
Fly Construction, Crotch/Seat Seams & Side Seams
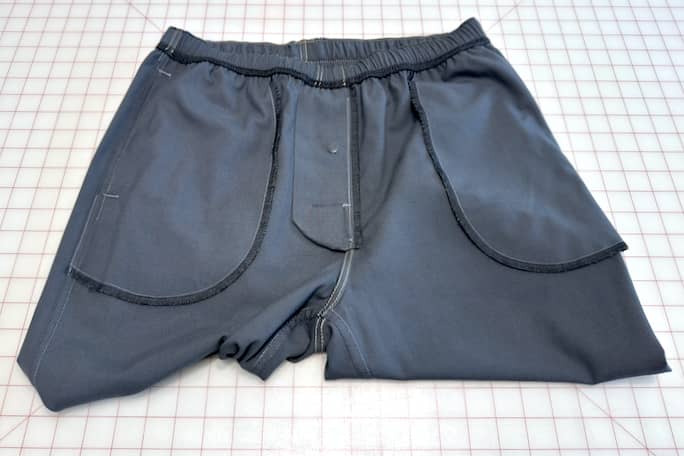
After sewing the fly, crotch seam, seat seam and side seams, I showed my wife my progress and asked her what she thought of the gold topstitching thread on grey fabric now that she could see it in context. After previously insisting that this was the topstitching thread combination she preferred, only now that I had reached the point of no return did she say, “Nah, I think it looks ugly. Plus, it’s not really ‘you’… stick to black on grey, like this one, that’s more ‘you’!” as she pointed to the front pieces that were overlocked with black thread. Too late!
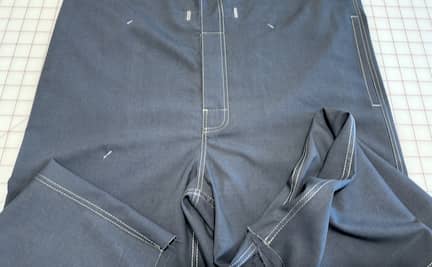
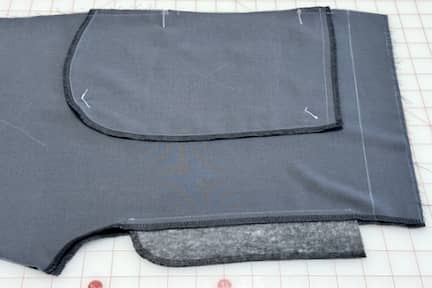
After seeing it with more context, it was painful after all that work that I agreed with my wife. I think I was asking her opinion because I was hoping she’d convince me that they looked great, but in reality, I wasn’t a fan of the gold-on-grey topstitching, and she was right that the look of these lounge pants weren’t really my style.
Nevertheless, I wasn’t about to leave them half-done; I still needed to coverstitch the elastic waistband and hem the bottoms. Plus, I was thinking about making a matching drawstring from narrow strips of grey fabric, topstitched with gold thread to match the pants.
Drawstring
I went to the Mokuba Store in Toronto to look for gold twill tape for these pants so that I could (hopefully) avoid making the drawstring myself and end this project quicker, allowing me to move on to something I’d actually wear. But after seeing the pants with the gold drawstring, my wife decided she liked them again, “I didn’t realize a gold drawstring could change it so much! Now it makes sense!” I decided I’d wait until after I chain-stitched down the elastic waistband to see how I felt about them.
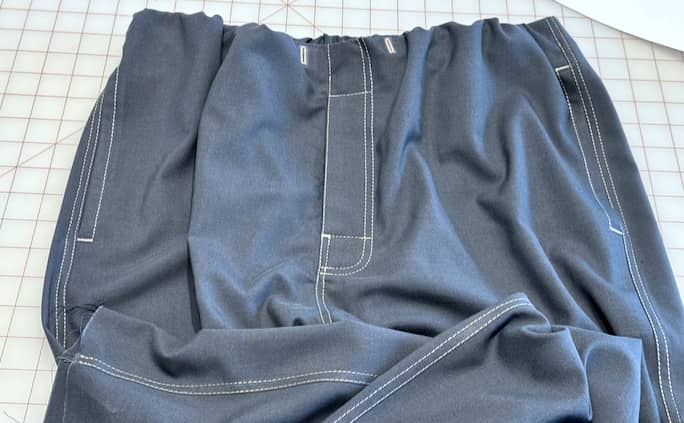
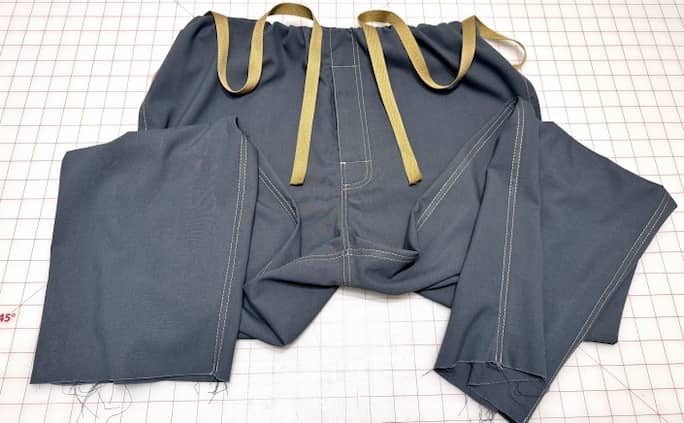
At this point, I tried the pants on for the first time and hated that they were so comfortable to wear because it made me want to keep them.
Waistband
I made a short video while sewing the elastic waistband down, which you can see in my post, “Elastic Tension Bracket for Industrial Coverstitch Machines.”
Finished Pants
Here are some photos of the finished lounge pants, which you’ll notice feature flat felled seams on the inseams and side seams:
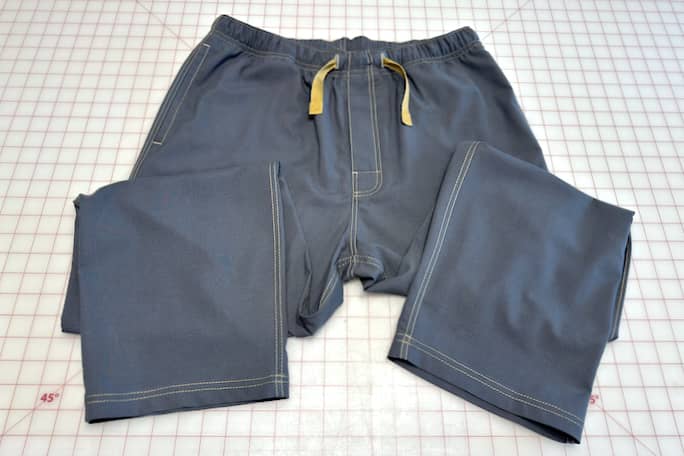
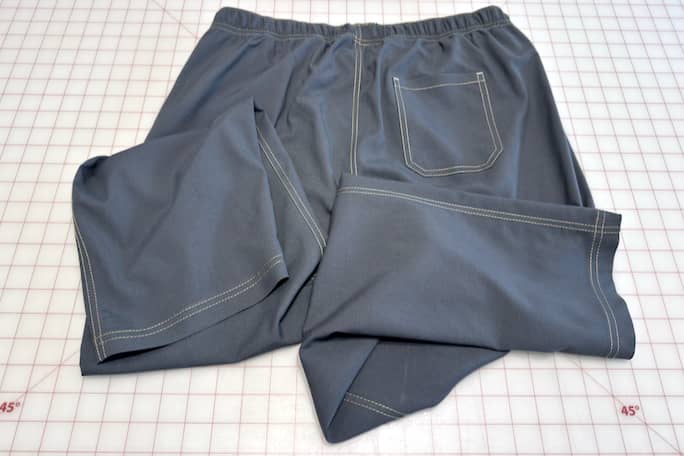
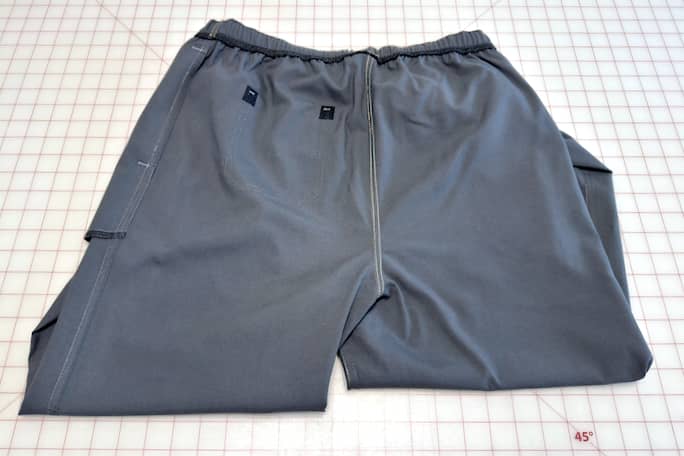

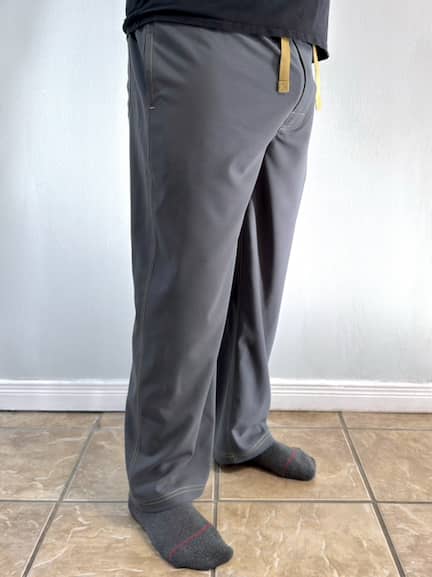
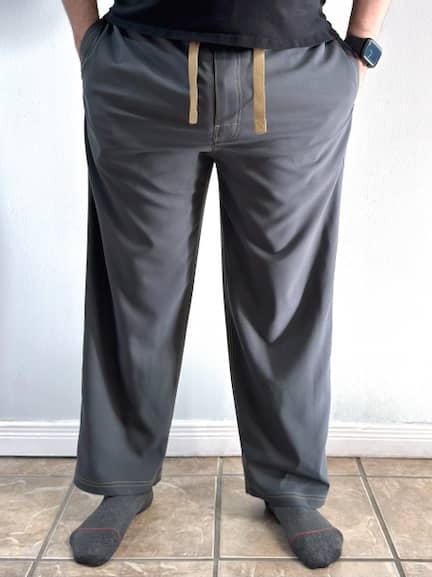
With time, the gold topstitching has grown on me; I agree with my wife that the gold drawstring makes a big difference. I’ve decided not to donate them for now and will be using them myself, but I’ve also already purchased some gorgeous blue-tinged grey linen to make another pair of lounge pants, this time without contrasting topstitching!