Reupholstering Dining Chairs
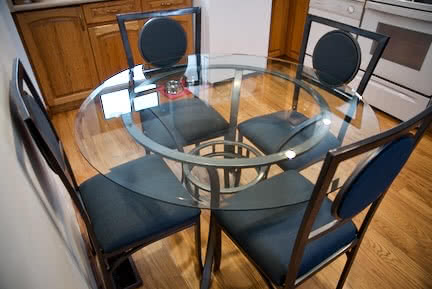
by Daniel Menjívar • #diy #sewingWe’ve been using a cheap dining set — which I hate — since late 2011. I finally took the initiative and tried to sell it on Kijiji in the middle of spring this year. As a potential buyer was on his way to pick it up, I decided to make things easier by putting it outside to have it ready but didn’t realize that by putting it out in the sun, so much light would really accentuate all the wear and tear on the chairs. The pictures from the ad looked much nicer than the chairs did outside, so the buyer decided to walk away. I was actually relieved because I would have felt bad taking anyone’s money for a dining set in that condition.
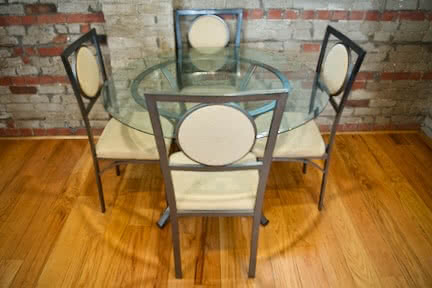
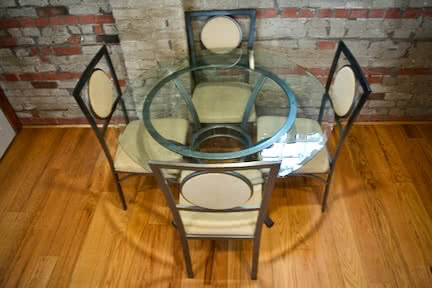
It’s a very cheap dining set, so no professional upholsterer would ever waste their time on it. But the one thing I do have is time. The glass tabletop and metal frames are in great shape, so it would be a shame to let this end up in the dump. Apart from being better for our wallets, it’s also better for the environment to use things as long as we can…
The chairs have always been a little too hard for my wife Michelle’s liking, so I figured if I was going to re-cover them, I might as well replace the foam too. The original foam was 1” recycled chip foam, but I found some really nice 2” upholstery foam (which I cut to size using an electric bread/carving knife) to upgrade the padding.
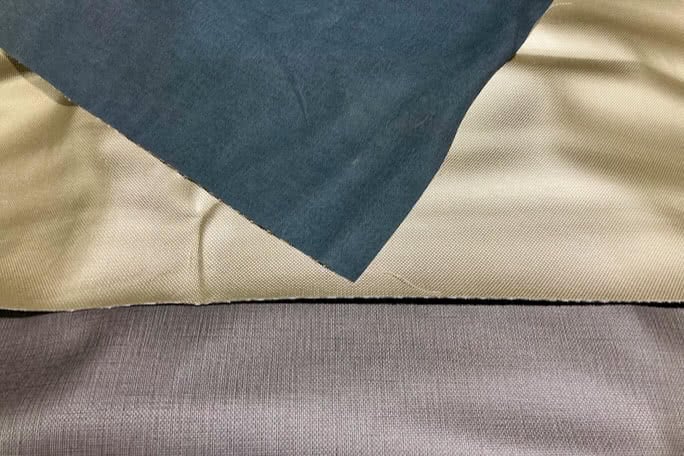
In terms of fabrics, I have tons of chocolate brown faux leather that would coordinate nicely with our living room décor, but I didn’t think that chocolate brown leather would look good next to pewter grey metal frames. I spent a couple of hours in the fabric store before narrowing my selections to three vinyl fabrics and after some texting back and forth, Michelle and I settled on this super-smooth teal grey faux leather:

Reupholstering dining chairs is very easy as long as you have a staple gun. The hardest part for most people is probably sewing the welting or piping. In my case, I’ve made so much piping for throw pillows recently that it was one of the quickest parts. I have more than 1000 yards of various types of piping cord in the garage but for some unknown reason, I wanted to reuse the existing piping cord, so unpicking those seams took a lot of time.
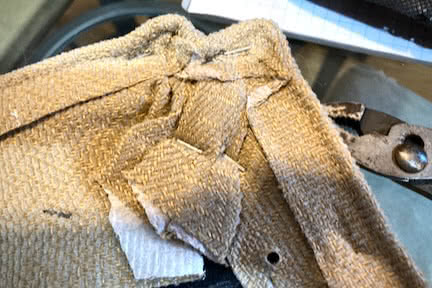
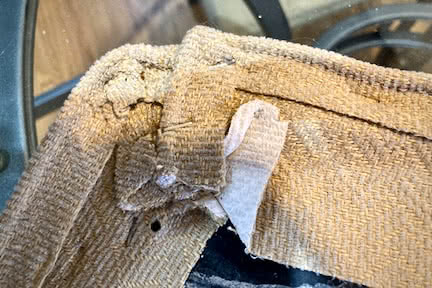
I’m used to sewing piping onto fabric, not stapling it, so I made sure to take lots of photos of how the piping was attached so that I could try to do it the same way.
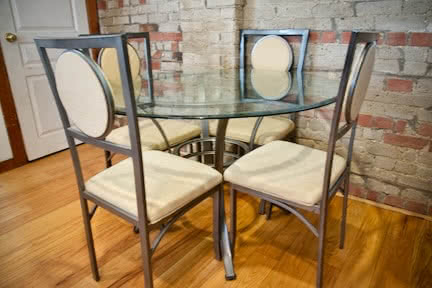
Here’s how the chairs look now that they’re done:
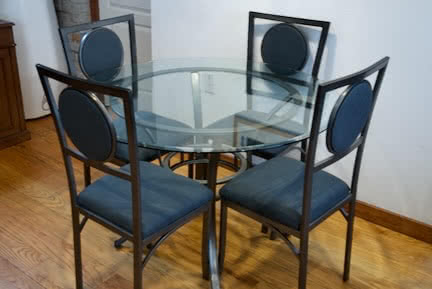
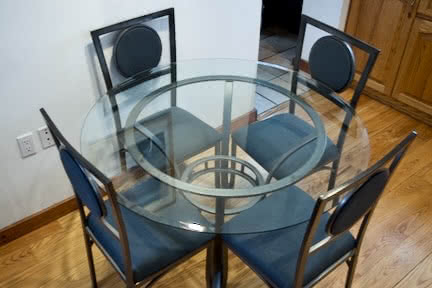
They look grey and less saturated with only a hint of teal in person. I think they came out good. The chairs are now much more padded and softer to sit on — to Michelle’s liking — but I don’t like that a lot of the air escapes and they sink as you sit down. In hindsight, I think I should have gone with a higher density foam, but they’re not bad as they are now.
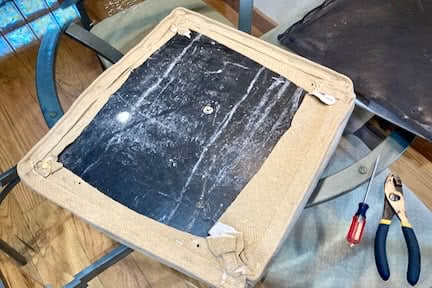
The most labour-intensive part of this project was removing the old staples, which is to say that it wasn’t a very challenging project overall. I also spent too much time looking for ⅛” staples for the rear portion of the chair backs. I couldn’t find any, so I ended up using a layer of thin foam on the backs to add a bit of thickness so that the staples wouldn’t go through.
The total cost was about $60: $6 × 4 pieces of 2×30×30” foam; $25 for 2½ yards of faux leather; $5 for thin ¼” foam (in place of Dacron); and $5 for a box of ¼” staples.
Now we’re debating: do we keep this dining set and try to get as much use out of it as we can? Or do we try to sell it again now that it’s freshly covered with new fabric?